

Haldex Gen 5 does not use a replaceable filter. It relies on a removable pump screen, or strainer, that catches debris at the inlet. If you’re servicing one, the job is to drain the fluid, pull and clean that screen, refill with VAG G055175A2 spec oil, and finish with a pump relearn. Compatible parts and full kits are available through Haldexparts.
TL;DR:
- The Haldex Gen 5 system does not have a replaceable filter; instead, it uses a removable pump screen that must be cleaned during service.
- Proper maintenance involves draining the oil, removing and cleaning the strainer in roughly 45 to 90 minutes, and refilling with the specified G055175A2 oil.
- Signs of pump failure include loss of all-wheel-drive, warning lights, pressure build-up issues, or unusual noises, often caused by debris accumulation or skipped cleaning.
- Replacing the pump or its components requires careful part matching, with common repair parts including a nose tip set, a connector plug set, or an OEM seal kit; always verify compatibility first.
- Most failures are preventable through regular cleaning and fluid changes; neglecting the strainer service is the main cause of pump damage on Gen 5 units.
Table of Contents
- Does Haldex Gen 5 have a replaceable filter?
- How do you clean the Gen 5 pump screen?
- What are the signs of a failing Gen 5 pump?
- Which parts do you actually need for a Gen 5 service?
- A practical view on repairing Gen 5 pumps
- Where to buy genuine Gen 5 Haldex parts
- Sources
Does Haldex Gen 5 have a replaceable filter?
No. That’s the short answer, and it surprises a lot of people who’ve serviced earlier Haldex generations. Gen 1 through Gen 4 units used a cartridge filter you could swap out during a fluid change, much like an oil filter. Gen 5 dropped that design entirely in favour of a strainer basket, sometimes called a gauze, fitted directly at the pump inlet.
That strainer does the same basic job as a filter, catching metal particles and debris before they reach the pump internals, but it isn’t a service part in the traditional sense. There’s no cartridge to buy and slot in. Instead, you remove the screen, clean it, and put it back.
This has real implications for how you approach maintenance:
- Contamination risk is arguably higher on Gen 5, because there’s no easy swap. Skip the cleaning step and the same debris keeps recirculating past the strainer.
- Fluid quality matters more. With no filter media absorbing wear particles between services, oil condition and interval discipline carry more of the load.
- Routine maintenance shifts from “replace the part” to “clean the part and change the fluid” — a different mindset, but not a harder one once you know the layout.
Anyone still hunting for a “Gen 5 filter part number” online is chasing something that doesn’t exist as a standalone component in most markets. What you’re actually after is the strainer service procedure and the correct oil spec, both covered below.
How do you clean the Gen 5 pump screen?
Set aside roughly 45 to 90 minutes for this job, longer if the pump has to come off the vehicle to reach the screen properly.
Tools and consumables you’ll need:
- A fluid extraction pump (a Schwaben-style unit or equivalent) for draining
- Metric sockets and a torque wrench for the housing bolts
- A small flat driver or pick for the strainer screws, which are genuinely tiny
- VAG-spec G055175A2 oil for the refill
- Nitrile gloves and eye protection, since Haldex fluid isn’t pleasant on skin
The procedure, step by step:
- Raise the vehicle safely and locate the Haldex pump, usually mounted near the rear differential.
- Drain the existing fluid through the fill or drain port using the extraction pump.
- Access the pump housing. On some applications you can reach the strainer in situ; on others, the pump has to be unbolted and partially removed to expose the screen.
- Remove the small screws securing the strainer cover carefully. Losing one of these in the housing is a common and avoidable mistake.
- Lift out the gauze and clean it in solvent, checking for tears or crushed mesh.
- Reassemble, torquing housing bolts to the manufacturer’s specification rather than guessing by feel.
- Refill with the correct volume of G055175A2 oil, referring to the vehicle’s own workshop figures since Gen 5 applications vary by model.
- Run the pump relearn using VCDS in basic settings mode with the engine idling; the process itself takes about a minute.
Pro Tip: Photograph the strainer orientation before you remove it. Some gauzes have a directional fit, and refitting one backwards restricts flow rather than filtering debris.
One caution worth repeating: the strainer screen isn’t always sold as a separate OEM spare in every market, so treat the existing gauze gently rather than assuming a replacement is a quick order away.
What are the signs of a failing Gen 5 pump?
A clogged screen doesn’t just reduce filtration, it starves the pump of clean flow, and that stress accumulates. Watch for these symptoms:
- Loss of all-wheel-drive engagement, often noticeable in slippery conditions or hard acceleration
- A 4WD or AWD warning light on the dash, sometimes paired with a stored fault code
- The pump failing to build pressure during a diagnostic test, even after a fresh fluid change
- Unusual whining or grinding noise from the pump area under load
Neglected service intervals, commonly cited at around 30,000 to 40,000 miles, are the leading cause of pump failure on Gen 5 units. Debris that should have been cleaned out during a routine service instead works its way through worn seals and a scored pump nose.
The decision between repair and full replacement usually comes down to what’s actually damaged. A leaking pump with an otherwise healthy rotor often just needs a seal repair kit. A worn or scored nose housing, where the rotor tip has chewed into the casing, calls for a nose replacement tip set rather than binning the whole unit. Only when the pump body itself is cracked, or the internal gears are damaged beyond a seal or tip fix, does a full pump swap make financial sense. If you’re not confident reading the fault codes yourself, a proper diagnostic session with VCDS or an equivalent tool will tell you which of these three routes you’re actually facing before you spend a penny on parts.
Which parts do you actually need for a Gen 5 service?
Ordering the wrong part for a Gen 5 pump is easier than it sounds, because Haldex components look similar across generations but rarely interchange. Three parts cover most repair scenarios:
- Pump nose replacement tip set — fixes a worn or scored rotor housing, the most common cause of internal leaks after high mileage.
- Connector plug replacement set (0CQ598305) — resolves fitment and wiring connection issues at the pump, particularly on units that have been previously disturbed.
- OEM seal repair kit (0CQ598305) — addresses fluid leaks around the pump housing without the cost of a full replacement.
Before ordering anything, run a Haldex compatibility check against your VIN. Visual inspection or a VIN lookup is the recommended way to confirm generation, since Gen 4 and Gen 5 pumps can look deceptively alike side by side.
Quick checklist: match the part number exactly, confirm the generation before checkout, and check the shipping and returns policy in case the wrong variant slips through. Haldexparts offers free shipping on orders over £150, which matters if you’re bundling a nose kit with a seal kit and oil in the same order.
A practical view on repairing Gen 5 pumps
Most Gen 5 pump failures I see traced back are avoidable, not because the design is fragile but because the strainer service gets skipped for years at a stretch. A sensible workflow runs in four stages: drain and inspect the fluid for metal content (10 minutes), remove and clean the strainer (30 to 45 minutes), refill and torque everything to spec (15 minutes), then relearn and road test (10 minutes).
Check for leaks at the housing seams, re-torque the housing bolts after the first few miles, and confirm the pump current looks normal post-relearn before calling the job finished. If a pump has already had one seal kit and starts leaking again within a year, I’d move to a nose tip replacement rather than repeating the same fix. Repeated small repairs on a worn housing rarely hold.
— Mindaugas
Where to buy genuine Gen 5 Haldex parts
Haldexparts stocks the three components most Gen 5 repairs actually need, all matched to genuine specifications rather than generic substitutes.
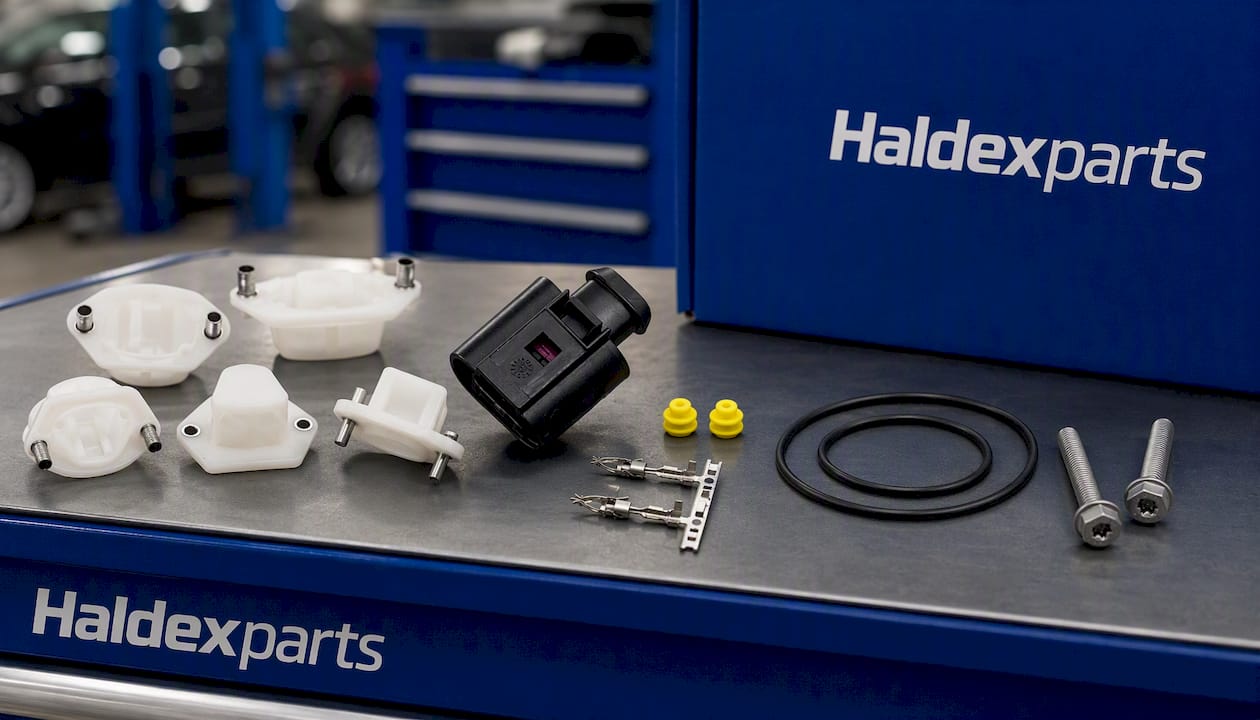
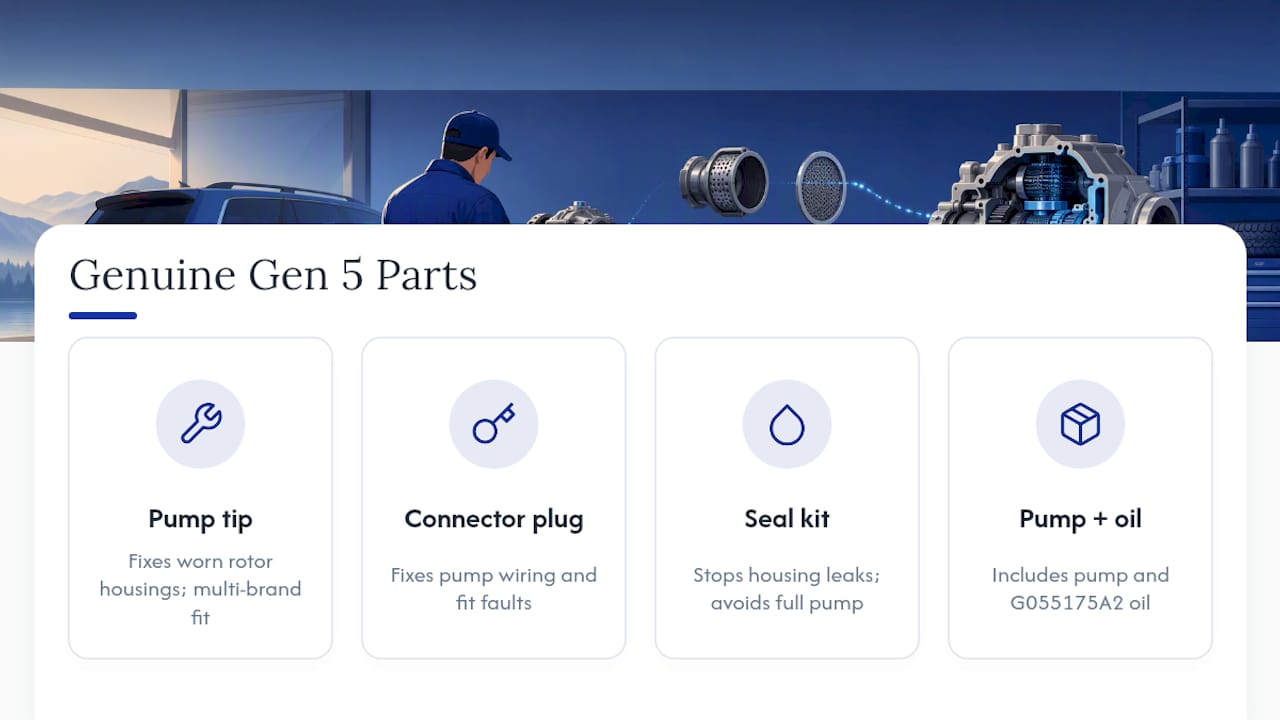
The pump nose replacement tip set handles worn rotor housings across Audi, VW, BMW, Volvo and Jaguar applications. The connector plug replacement set sorts fitment and wiring faults at the pump connection point. The OEM seal repair kit stops housing leaks without the cost of a full pump. If you’d rather sort the pump and oil together, the pump and G055175A2 oil set covers both in one order.
Run your VIN through the compatibility checker first, confirm the generation matches, and check the returns policy before you commit. Orders over £150 ship free, and most parts leave the warehouse quickly enough to keep a workshop job moving rather than stalled waiting on stock.
Sources
Technical detail in this guide draws on ECS Tuning’s Haldex identification and service guide for generation identification, JCR Leeds’s Gen 5 servicing walkthrough for the strainer cleaning steps and oil spec, Haldex Controller’s Gen 5 service page for the relearn procedure, and Eco Torque’s Gen 5 pump listing for service interval and failure data. Always cross-check torque figures and fluid volumes against your vehicle’s own workshop manual, since specifications vary between models sharing the same Haldex generation. For general drivetrain fluid guidance, KKRichardson’s differential service overview is a useful companion read.