

Most Haldex pressure sensor fault codes trace back to the sensor itself or a wiring and connector problem, not the pump or ECU. Confirm this with a diagnostic tool by reading live AOC or DEM pressure and temperature values, then check that every connector is fully seated before you touch a spanner. If you already know you need a replacement sensor, jump to the parts section to confirm the correct part number first.
TL;DR:
- Most Haldex pressure sensor faults are caused by wiring issues or faulty connectors, not the sensor or pump itself, so proper live data checks are essential.
- Always verify the sensor’s pressure rating—40 bar or 80 bar—by cross-referencing the hardware part number through diagnostic tools to avoid fitting the wrong part.
- Conduct pre-test checks such as inspecting connectors, verifying supply voltage, and listening for pump operation before replacing any component.
- Fault codes like persistent pressure drops or inconsistent readings often indicate internal leaks, pump issues, or ECU faults rather than a bad sensor.
- Use a proper diagnostic scanner to read live pressure and temperature data in specific conditions—engine off, idling, and after warm-up—to accurately diagnose the fault.
Table of Contents
- What causes a Haldex pressure sensor fault code?
- Quick pre-test checks before replacing anything
- How do you test a Haldex pressure sensor?
- When the fault isn’t the sensor: pump, DEM and ECU problems
- DIY sensor swap or professional repair: which makes sense?
- Confirming the right sensor part number before you order
- Workshop notes: what actually trips technicians up
- Order the parts that match your diagnosis
- Sources
- FAQ
What causes a Haldex pressure sensor fault code?
Two DTC families dominate Haldex pressure sensor complaints. The P0932 family covers pressure sensor circuit faults directly, while Haldex’s own diagnostic system flags DEM (Differential Electronic Module) codes such as 0007 and 000B, which point to reservoir transducer or sensor circuit problems. Neither code family tells you outright whether the sensor, the wiring, or the pump caused the fault. That distinction comes from the symptom pattern and a live data check.
A few symptom patterns are worth flagging early:
- AWD disabled with a warning light: usually a persistent, repeatable fault rather than a one-off.
- Intermittent AWD engagement: often points to a wiring or connector issue rather than the sensor element itself.
- Traction control messages alongside AWD warnings: suggests the ECU is receiving pressure data it doesn’t trust.
- Erratic or jumping pressure readouts on the scan tool: classic sign of a loose connector or corroded pin, not a dead sensor.
If the pressure reading is wrong but stable, you’re likely looking at a faulty sensor or the wrong sensor rating fitted. If it flickers or drops out only under vibration or steering input, wiring is the more likely culprit. The Haldex Diagnostic Plus user guide lists these intermittent low-output and short/open circuit groups explicitly, and recommends ruling out wiring before any ECU replacement.
Quick pre-test checks before replacing anything
Skipping this step is the single biggest reason people replace a perfectly good sensor. Work through it in order.
- Inspect the connector: look for cracked clips, snapped locking tabs, or a connector that isn’t fully clicked home.
- Check for corrosion: green or white deposits on pins usually mean moisture has got past the seal.
- Confirm supply voltage: verify voltage is present at the relevant ISO7638 pins and that the ground path is intact.
- Check fuses: a blown fuse feeding the DEM or pump module will mimic a sensor fault on the dash.
- Listen for the pump: it should run audibly and draw a measurable current when commanded; silence or a weak draw points away from the sensor entirely.
Pro Tip: Save the freeze-frame data before you clear any codes. Once cleared, you lose the exact pressure, temperature, and speed conditions present when the fault triggered, and you’ll be diagnosing blind if the fault returns.
How do you test a Haldex pressure sensor?
You need a scanner capable of reading live AOC or DEM pressure and temperature data, such as Volvo’s VIDA or an equivalent generic diagnostic tool with Haldex support. Reading the wrong parameter, or trusting a generic OBD reader that doesn’t reach the DEM module, is a common reason DIY diagnosis stalls here.
Run the check in this order:
- Ignition on, engine off (cold): pressure should read 0.00 ±0.08 MPa. Anything meaningfully above zero with the pump not running suggests a sensor offset or a faulty transducer.
- Engine idling, pump running: expect roughly 0.38 ±0.08 MPa. A reading well outside that band with the pump audibly running points at the sensor or its calibration rather than the pump itself.
- Temperature check: cold, the temperature reading should sit close to ambient. After a short drive it should climb significantly above ambient; a reading that never moves suggests poor thermal contact or a failed sensor.
One detail catches out a surprising number of technicians: Haldex uses two different pressure sensor ratings, 40 bar and 80 bar, and they are not interchangeable by eye. A sensor with the wrong rating installed produces readings that are consistently and proportionally wrong, not randomly erratic, which can look like a calibration fault when it’s actually a mis-specified part. Always confirm the hardware part number through the diagnostic tool rather than assuming from the sensor’s colour or shape.
Connector orientation matters too. A sensor plugged in slightly off-axis, or a housing seated at an angle, can produce a false failure that clears the moment it’s reseated correctly.
When the fault isn’t the sensor: pump, DEM and ECU problems
If your pressure and temperature readings come back within spec but the fault code persists, the sensor is probably innocent. A few other components deserve attention next.
- Pump-related faults: look for a lack of pressure buildup despite the pump audibly running, unusual whining or grinding noise, or a current draw that’s noticeably higher or lower than expected for that generation of pump.
- Internal air leaks and seal failures: degraded internal seals let pressure bleed away gradually, which the ECU reads as a fluctuating or unstable signal, often producing a cascade of unrelated-looking DTCs rather than one clean fault.
- Persistent multiple pressure DTCs after a passed sensor test: this pattern usually means the ECU or AOC unit itself, or an internal leak inside the pump/DEM housing, is the actual source. ECU-Fix’s repair notes on EB+/Gen3 units describe exactly this: degraded internal pressure sensors and micro air leaks causing recurring codes that survive a clean wiring check.
Practical next steps at this point split three ways: replace the pump nose if it’s an early-generation unit with a serviceable nose section, fit a reman pump if the whole unit is worn, or send the ECU/AOC away for specialist repair when the fault is electronic rather than mechanical.
DIY sensor swap or professional repair: which makes sense?
The right call depends less on how confident you feel with a socket set and more on three practical factors: how certain your diagnosis actually is, whether you have access to a proper Haldex-capable scan tool, and whether the vehicle is under warranty.
- Sensor replacement: the cheapest and quickest fix when live data confirms the sensor is the fault; expect this to be a straightforward job for anyone comfortable with basic electrical connectors.
- Pump nose replacement: a moderate job on first and second-generation pumps, worthwhile when the nose section alone has failed rather than the whole pump body.
- Full pump replacement: more involved, and usually only necessary when internal wear or a failed motor is confirmed rather than assumed.
- ECU/AOC repair or reman service: often the more cost-effective route once internal leaks or electronic faults are confirmed, since a full replacement pump or DEM unit costs considerably more than a targeted repair.
Pro Tip: Never assume sensor colour tells you the pressure rating. Always cross-check the hardware part number on the diagnostic screen against the correct 40 bar or 80 bar specification before ordering, because fitting the wrong one gives you readings that look like a fresh fault all over again.
Confirming the right sensor part number before you order
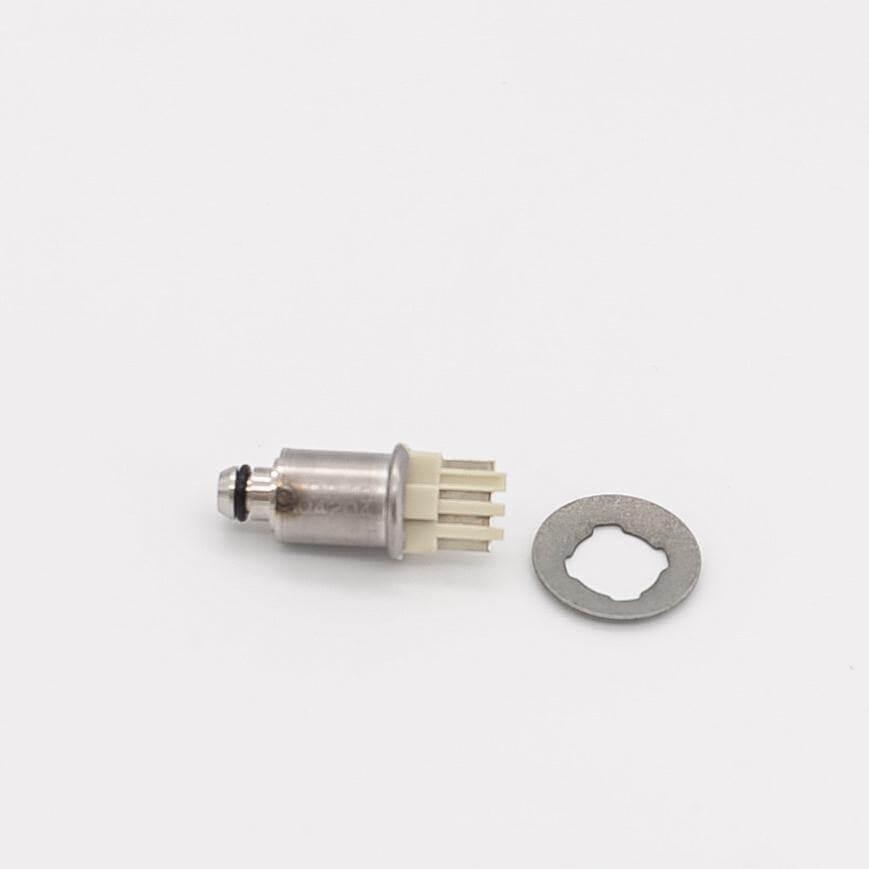
Ordering the wrong-rated sensor is one of the most common and most avoidable mistakes in Haldex repair work, and it happens because two visually similar sensors carry different pressure ratings entirely. The only reliable way to confirm which one your vehicle needs is to pull the hardware part number through the diagnostic tool and cross-reference it against your VIN, rather than guessing from the old part or a generic parts catalogue.
A few products cover the most common replacement scenarios:
-
The Genuine BorgWarner 30759668 Pressure Sensor Kit is the correct 80 bar sensor for Volvo AOC/DEM applications once your diagnostic readout confirms that rating.
-
For early pumps, the AWD pump nose replacement guidance covers first and second-generation Haldex pump noses, a common failure point separate from the sensor itself.
-
Fifth-generation units on some Porsche and VAG-group vehicles use the Haldex oil pump 9P1906271, relevant when full pump replacement is the confirmed fix.
Check your Haldex generation and confirmed hardware part number before ordering, and check shipping and return terms on the product page for your specific vehicle model.
Workshop notes: what actually trips technicians up
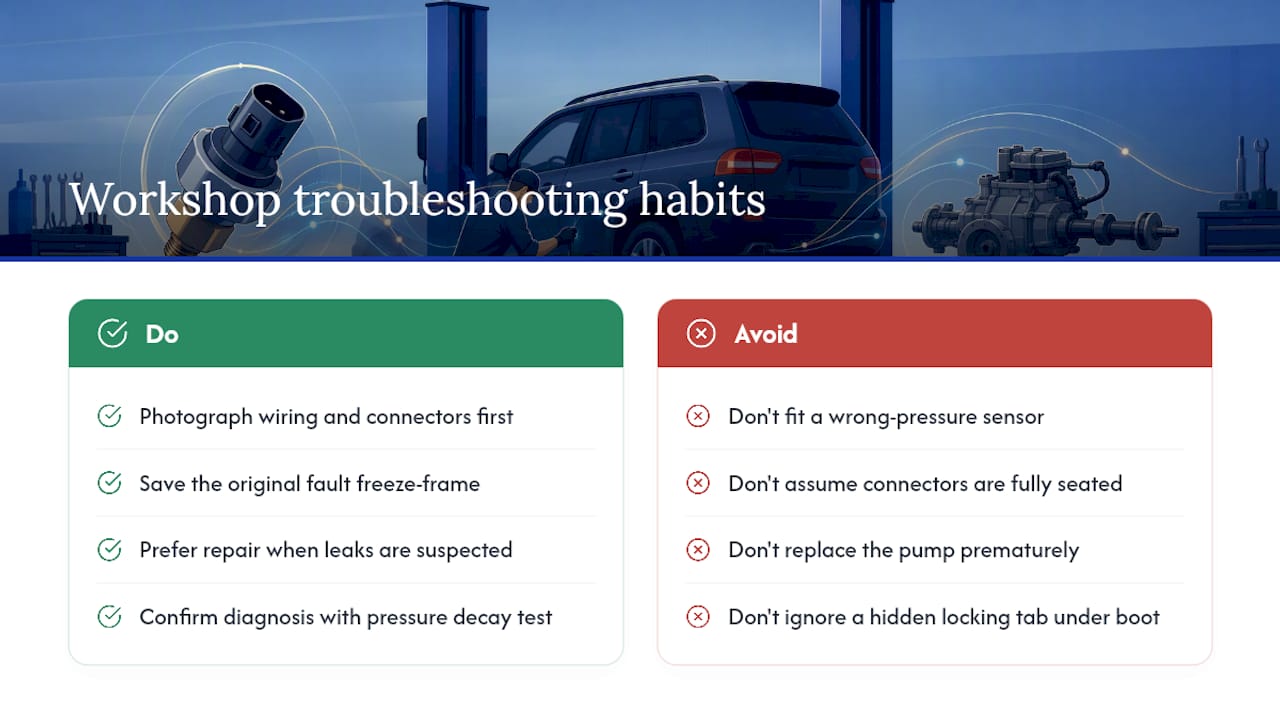
The failures that eat the most diagnostic time in a workshop are rarely dramatic. A connector that looks clicked in but isn’t fully seated, a snapped locking tab hiding under the boot, or someone fitting an 80 bar sensor where a 40 bar one belongs, these account for more repeat visits than any pump failure does.
One habit saves real time: photograph wiring and connector orientation before you disturb anything, and keep the freeze-frame data from the original fault. A conservative shop leans towards repair over replacement whenever internal leaks are suspected but not yet confirmed by pressure decay testing, because a premature pump swap on a sensor that later turns out fine wastes a customer’s money and your afternoon.
— Mindaugas
Order the parts that match your diagnosis
Once live pressure and temperature readings confirm what’s actually wrong, ordering the right part is the last step, and it’s the one place a cheap mistake gets expensive fast. Replacement components matched to specific Haldex generations help avoid guessing between a 40 bar and 80 bar sensor or hoping a generic part fits the DEM housing.
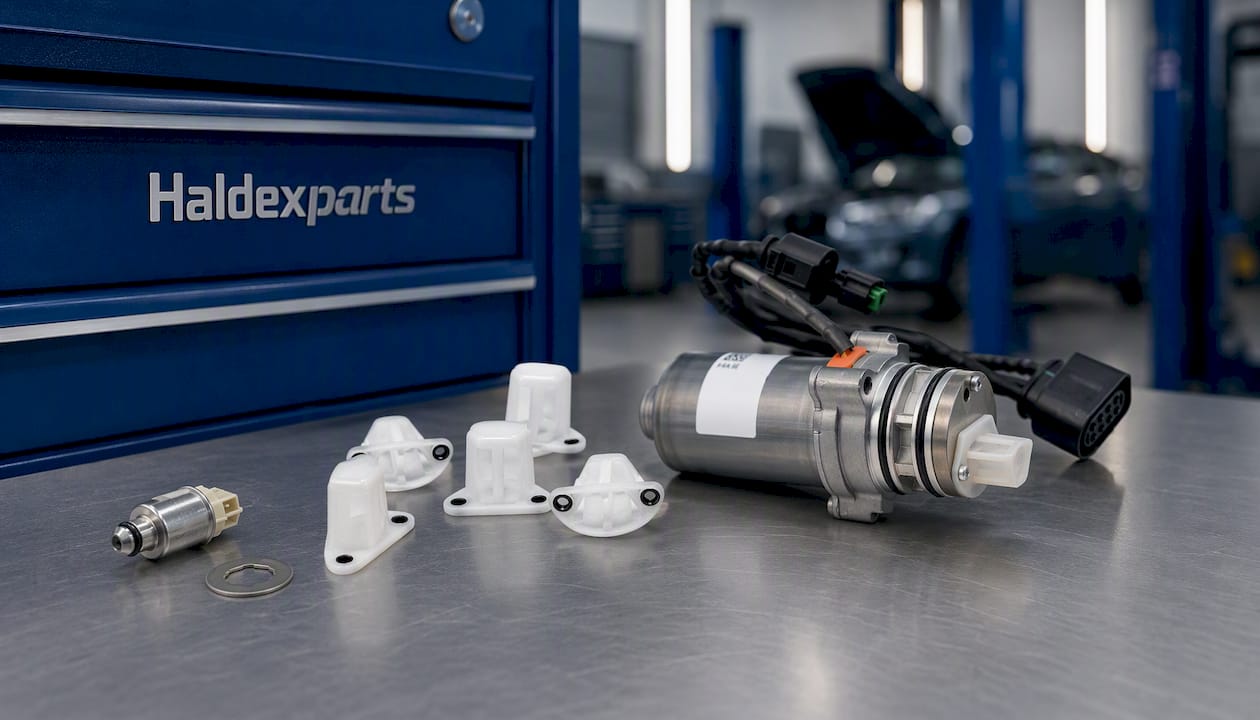
If your diagnostic tool confirmed a sensor fault, the Genuine BorgWarner 30759668 Pressure Sensor Kit covers the 80 bar Volvo AOC/DEM application directly. If the fault sits with an early-generation pump, the AWD pump nose replacement tips walk through the nose-section swap for first and second-generation units. Fifth-generation owners needing a full pump can check the Haldex oil pump 9P1906271 for Porsche and VAG-group applications. Confirm your Haldex generation and hardware part number first, then order the matching kit direct from Haldexparts.
Sources
- VOLVO (DEM) AND HALDEX — service/test bulletin
- Haldex Diagnostic Plus user guide (NTSB exhibit)
- Curing Haldex EBS EB+ Gen3 Pressure Sensor & Air Leak Faults — ECU-Fix
FAQ
What are the signs that my Haldex system is failing?
Watch for AWD warning lights, intermittent all-wheel-drive engagement, traction control messages appearing alongside AWD faults, and unusual pump noise. Erratic pressure readouts on a scan tool are usually the earliest reliable indicator.
How do I reset a Haldex pump fault code?
Clearing codes with a diagnostic tool only resets the fault. Unless the underlying cause, whether sensor, wiring, or pump, has actually been fixed, the code will return within a short drive cycle.
How do you know if a differential pressure sensor is bad?
Check live pressure data against the expected values: roughly 0.00 ±0.08 MPa with the ignition on and engine off, and around 0.38 ±0.08 MPa at idle. A stable reading well outside those ranges points to a faulty or wrong-rated sensor.
Can I fix a Haldex pressure sensor fault myself?
Yes, if live data confirms the sensor is at fault and you have a scanner that reads AOC or DEM pressure directly. The main risk is ordering the wrong 40 bar or 80 bar rating, so confirm the hardware part number through diagnostics before buying a replacement from Haldexparts.