
Yes. For most owners with basic workshop tools and the correct OEM-grade kit, replacing a Haldex pump seal or input shaft flange seal is a straightforward home job. The seals that fail most often are the pump seal and the flange (input shaft) seal, both accessible without removing the whole differential on many generations. Once the new seal is fitted, the job isn’t finished until you’ve drained the old fluid, refilled it correctly, and primed the coupling.
TL;DR:
- Using OEM-grade seal kits matched to your Haldex generation ensures proper fit and prevents leaks caused by incomplete sealing or bore mismatches.
- Properly priming the pump after reassembly requires cycling the ignition multiple times and a low-speed drive to fully pressurize the coupling.
- Draining and refilling oil accurately according to your vehicle’s generation prevents under- or overfilling, which can impair AWD engagement.
- Skipping steps like replacing the crush washer or reusing old flange nuts can cause leaks or mechanical faults within weeks.
- The rotate-pump method for Gen 4 and 5 units saves time, but only works if the pump is correctly re-pressurized and engaged after service.
Table of Contents
- Parts and tools checklist before you start haldex seal replacement
- How do you replace a Haldex seal step by step?
- How do you drain, refill and bleed the coupling afterwards?
- Torque specs and OEM parts to double check before ordering
- What does it cost, how long does it take, and what goes wrong?
- What actually matters more than most guides admit
- Get the exact OEM kit for your Haldex generation
- Sources
Parts and tools checklist before you start haldex seal replacement
Buy the right kit before you touch a spanner. Pump seal kits, filters, O-rings, and crush washers should match the OEM part numbers for your specific generation, not a generic “fits most” listing, and Haldexparts’s service kits are organised by generation to make that easier.
Tools worth having on the bench:
- 24mm socket for the flange nut, plus a breaker bar or impact driver
- Torque wrench rated for low-to-mid Nm figures
- 4mm Allen/hex bits for pump housing bolts
- A syringe or fill nozzle for refilling the coupling
- Jackstands rated for the vehicle’s actual weight, not just the jack that came with it
Keep disposable containers for old oil, lint-free cloths, brake cleaner for the mating surfaces, and a dab of thread locker for bolts that see vibration.
Pro Tip: Buy two crush washers even if you think you’ll only need one. They deform on first torque, and reusing a squashed washer is one of the fastest ways to get a slow filler-plug leak a week later.
How do you replace a Haldex seal step by step?
The core job is the same across generations: get access, extract the old seal without gouging the housing, seat the new one square, and torque everything back correctly.
Preparation
- Chock the wheels and support the vehicle on jackstands, not the jack alone.
- Mark the propshaft flange orientation with a paint dab before separating anything.
- Disconnect the battery to avoid tripping AWD fault codes during electrical disconnection.
Removal
Access to the pump and filter usually means unbolting a cover with Allen bits and unplugging the electrical connector, taking care to note how it’s clipped in before you pull it free. Forum-documented DIY approaches split into two camps here: some owners remove the propshaft flange to get at the input shaft seal directly, others prefer bench-removing the whole Haldex unit from the differential for cleaner access with better lighting and no fluid dripping onto your face.
Generation matters here. Gen 1 to 3 units generally tolerate straightforward in-car removal with the flange disconnected. On Gen 4 and 5 units, many experienced technicians skip driveshaft removal entirely by gently rotating the pump housing after unbolting it, which creates just enough clearance to withdraw the pump without touching the propshaft at all. It’s a genuine time-saver, though it takes a bit of feel the first time you try it.
Seal extraction and installation
Never lever the old seal out with a screwdriver against the housing bore, you’ll score the metal and create a new leak path. A short offcut of PVC pipe or a socket of matching diameter, tapped evenly around the circumference, seats the new seal without cocking it or rolling the lip.
Reassembly
- Hand-tighten all bolts first to check alignment before torquing anything.
- Torque in the sequence specified for your model (see the next section for reference figures).
- Reconnect the electrical plug and listen for the pump’s characteristic click when the ignition is cycled.
Pro Tip: If you hear nothing on the first key cycle after reconnecting the pump, don’t panic and start disassembling again. Some pumps need two or three key cycles before the controller registers the connection.
How do you drain, refill and bleed the coupling afterwards?
Fitting the seal is only half the job. Locate the filler plug and drain plug, drain the old oil into a container, then refill using a syringe or nozzle rather than pouring, since Haldex units don’t have a dipstick.
- Add oil slowly and watch the filler hole for overflow, that’s your “full” signal, not a marked level line.
- Volumes vary by generation: Gen 4 units typically take around 650 to 700ml, while some Gen 3 pump/filter jobs use closer to 450ml before a top-up after priming. Check your model’s workshop manual for the exact figure rather than assuming one generation’s number applies to another.
- Prime the pump by cycling the ignition several times, then take a short drive with a few tight, low-speed turns to let the coupling engage and pressurise fully.
Skipping the prime step is the single most common reason owners report “no AWD feel” straight after a seal job, when the actual seal and refill were both done correctly.
Torque specs and OEM parts to double check before ordering
Confirm torque figures against your specific model’s workshop manual, generations and even trim levels vary, but as a working reference, flange nuts typically run in the 45 to 65 Nm range, filler plugs are usually a much lighter torque, and Haldex-to-differential mounting bolts sit somewhere in between. Never guess these under a jacked-up car.
Matching the physical part matters just as much as the torque figure. Verify these before you buy:
- Connector pin count and orientation on the pump seal kit
- Housing bore diameter against your old seal
- Whether your unit is 1st to 3rd generation or the later 4th/5th generation design, they are not interchangeable
| Part or kit | Typical application |
|---|---|
| BorgWarner Coupling Filter Kit | SAAB, Opel, Vauxhall, Buick, Cadillac AWD systems |
| Haldex Gen 5 Oil Pump | Porsche |
| Haldex Gen 5 Oil Pump | Audi |
| precharge oil pump (1st gen) | Audi, VW, Škoda, Seat |
| oil filter and coupling oil | Volvo AWD kit |
| Filter with BorgWarner 850ml oil kit | Gen 4 VW, Audi, Seat, Škoda |
| Steel Friction Plate Set | Gen 4 and 5 AWD systems |
| Steel Friction Plate Set | Gen 4 and 5 AWD systems |
If a listing doesn’t state the connector type or bore dimension outright, ask the supplier for a photo against your removed part before it ships. A genuine VW flange seal like OE part 0D9498305A is cheap enough that guessing wrong costs you more in wasted time than the part itself.
What does it cost, how long does it take, and what goes wrong?
Budget roughly £30 to £80 for a standalone seal kit, more if you’re replacing the pump or a full oil and filter kit alongside it. An experienced DIYer with the right tools can expect a 3 to 4 hour job from jacking the car to the final test drive.
Common mistakes that bring the fault back within weeks:
- Reusing the old flange nut instead of a fresh one, it’s a stretch fastener on many models
- Skipping the crush washer replacement on the filler plug
- Letting brake cleaner or grit contaminate the new seal lip during fitting
- Seating a seal at an angle rather than square, which shows up as a slow leak days later
Pro Tip: If the AWD light comes on after service and the car won’t engage the rear axle, check the electrical connector first. A half-seated plug looks fine but reads as a fault to the controller.
What actually matters more than most guides admit
Most Haldex write-ups focus almost entirely on the mechanical extraction, and treat the refill as an afterthought. That’s backwards. Getting a seal out cleanly with a socket and a bit of patience isn’t hard. Getting the coupling to re-pressurise and actually engage afterwards is where most home jobs quietly fail, and owners end up chasing a phantom fault that was never really about the seal at all.
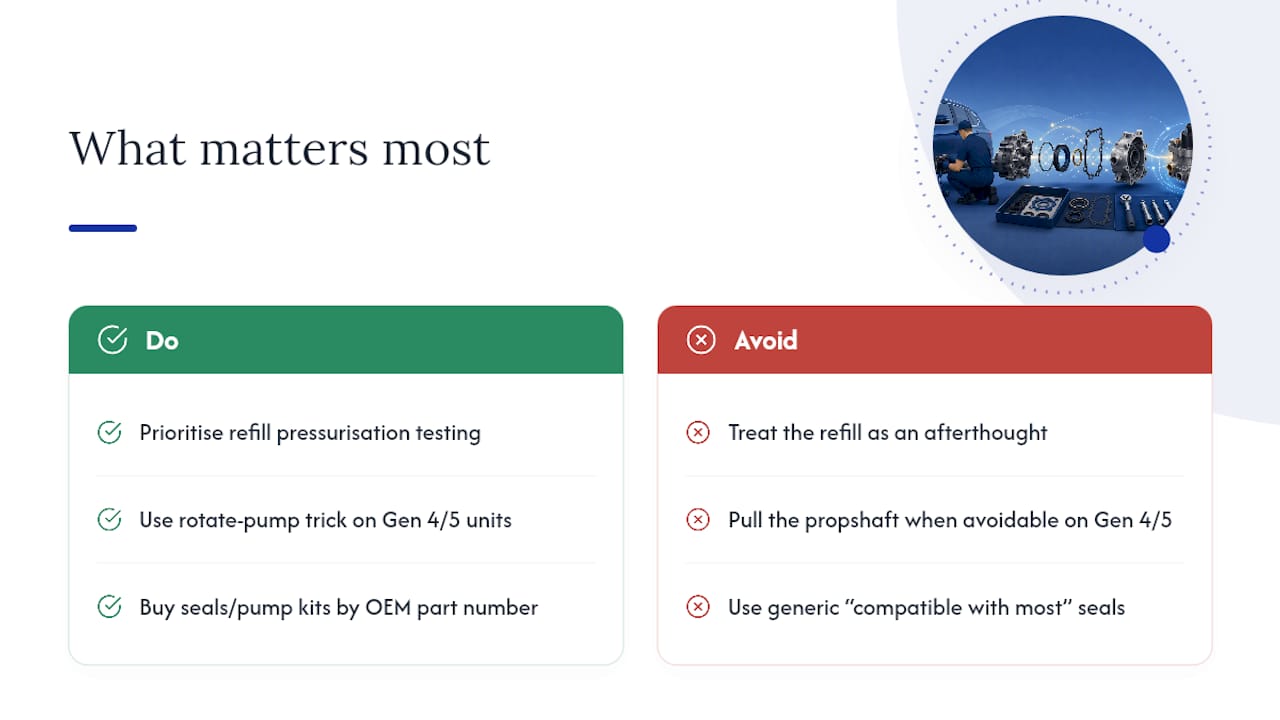
The rotate-pump trick for Gen 4 and 5 units deserves more attention than it gets, too. Pulling a propshaft adds an hour of extra work and a fresh set of bolts that can seize on an older car. Skipping that step when the unit allows it isn’t a shortcut, it’s simply the correct method for that generation.
If there’s one thing worth prioritising above all else, it’s buying seals and pump kits matched to your exact OEM part number rather than a “compatible with most models” listing. A seal that’s a fraction of a millimetre out on bore diameter will still go in. It just won’t stay sealed.
— Mindaugas
Get the exact OEM kit for your Haldex generation
Working through this guide with the wrong seal kit on the bench is the fastest way to turn a three-hour job into a weekend. Pump and filter kits are sometimes organised by generation and vehicle brand, not a generic catalogue number, to help match the actual unit rather than guessing from a part list.
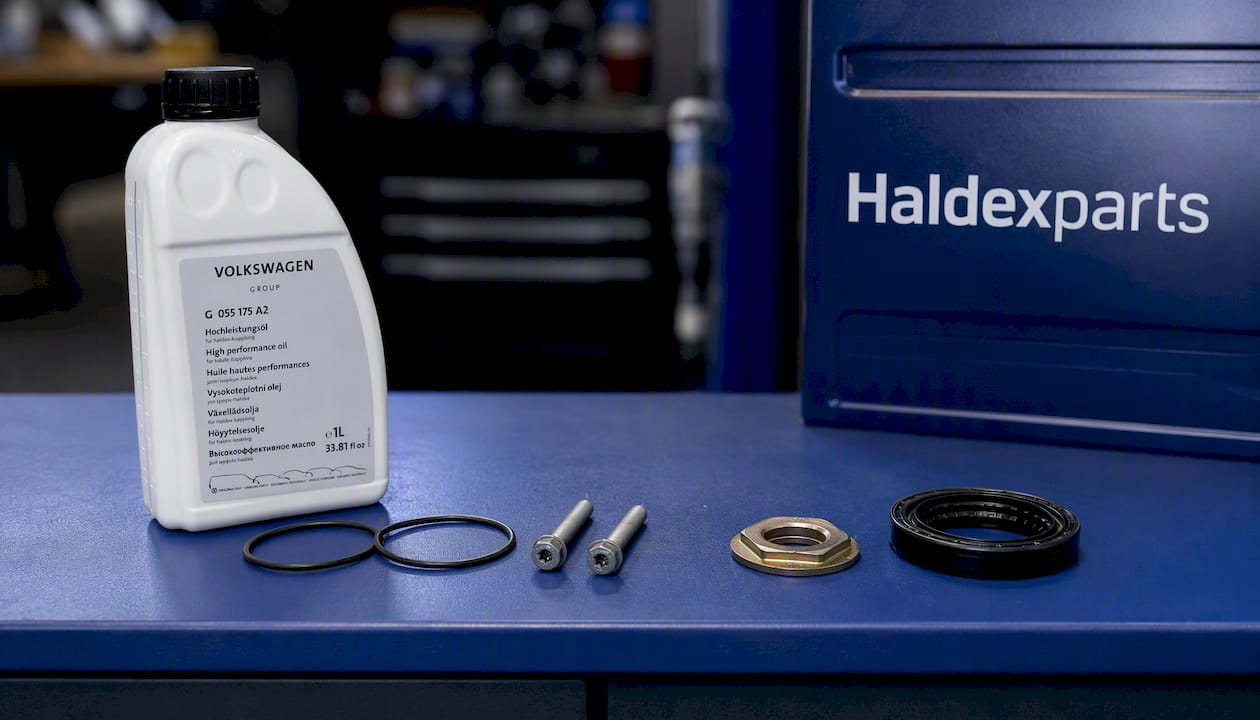
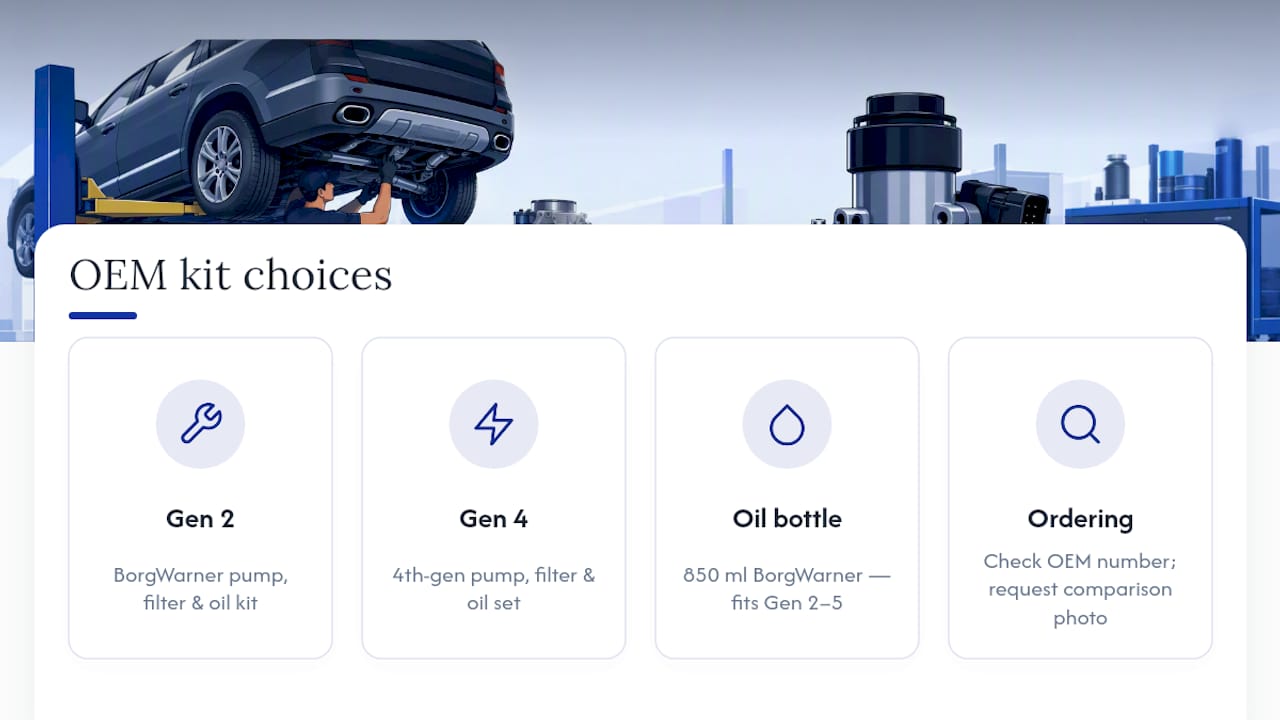
For 2nd generation VAG applications, the BorgWarner pump, filter and oil kit bundles everything covered in the parts checklist above into one order. Gen 4 owners doing the rotate-pump removal described earlier will want the 4th generation pump, filter and oil set, and if you’re only topping up after a seal job, the 850ml BorgWarner oil covers generations 2 through 5 in one bottle.
Every listing may carry the OEM part number to allow checking against your old part before ordering. If a fitment detail isn’t listed clearly, ask for a photo comparison before you check out.
Sources
Written by Mindaugas, whose step-by-step guides on Haldex servicing draw on the practical torque specs, generation notes, and fitment checks covered above. Some suppliers stock kits sorted by generation and vehicle brand rather than by generic catalogue number, which helps reduce ordering the wrong seal.
- Haldex Input Shaft Seal 8675238 install techniques | SwedeSpeed - Volvo Performance Forum
- VW Haldex Seal Repair Kit - Genuine VW 0D9498305A
- Replacing Haldex 3 Pump and Filter, 2007 XC70.
- How to service Haldex generation 4 – full guide | JCR Leeds