

If you spot thin, ATF-like fluid weeping from the filter cap, breather, or pump housing on your AWD system, you’re almost certainly looking at a Haldex AOC fluid leak rather than a rear differential problem. Stop driving if there’s a steady drip or puddle, then check the filler plug, filter cap, and breather before you decide whether this is a quick DIY fix or a job for a lift.
TL;DR:
- Most Haldex fluid leaks originate from the filter cap, breather pipe, or seals, and diagnosing the exact source is crucial for effective repair.
- Replacing the filter housing cap o-ring or the breather grommet is the simplest fix, while pump seal swaps are only necessary if internal seals are worn.
- Proper inspection involves checking fluid color, smell, leak pattern, and performing a drip test on clean cardboard to identify whether the leak is active or just a weep.
- Confirming the leak location before repair prevents wasteful work on components like the input shaft or diff seals that can mimic Haldex fluid leaks.
- After repairs, it is essential to follow the correct refill procedure and recheck for leaks to ensure the fix holds and prevent recurrent issues.
Table of Contents
- How do I check for a Haldex oil leak myself?
- Which parts of the Haldex system actually leak, and why?
- What’s the fastest way to pinpoint the leak?
- What DIY repairs actually fix a Haldex leak?
- What parts, tools, and costs should I budget for?
- Is it safe to keep driving on a Haldex leak?
- How does Haldexparts support this repair?
- What I’ve learned watching Haldex leaks go wrong
- Where to buy the parts covered in this guide
- Sources
- FAQ
How do I check for a Haldex oil leak myself?
Run through these checks before you touch a spanner. Most take less than ten minutes and will tell you whether you’re chasing a Haldex fault or something else entirely.
- Look under the car at the Haldex unit, usually mounted near the rear differential or front-to-rear driveshaft, and note exactly where fluid pools.
- Wipe the area with a tissue or paper towel and check the colour: thin, reddish or amber fluid with a faint burnt-ATF smell points to Haldex AOC fluid, while thick, dark gear oil with a sulphurous smell usually means the diff.
- Check the filler plug on top of the unit for seepage. A wet plug after a recent service often means overfilling rather than a genuine fault.
- Inspect the breather pipe or grommet for oil residue. This is one of the most common places fluid escapes.
- Park on clean cardboard overnight if the leak isn’t obvious, then check the drip pattern in the morning.
- Drive threshold: a slow weep that hasn’t left a puddle is usually fine for a short trip to a garage; a steady drip or active spray under the car means arrange a tow instead.
Which parts of the Haldex system actually leak, and why?
Most Haldex fluid leaks trace back to one of a handful of components, and knowing which one narrows the repair enormously.
- Filter housing cap and its o-ring. This is the single most common failure point, particularly after a service where the cap wasn’t torqued or seated correctly. It’s also the cheapest and easiest to fix.
- Breather pipe or grommet. The breather vents pressure from the unit, and a perished or dislodged grommet lets oil escape onto the subframe. Community reports on forums like SwedeSpeed repeatedly flag this as a leak that clears up simply by replacing or rerouting the breather.
- Pump nose and shaft seals. These sit slightly deeper and need more care to access, but a worn nose seal is a well-known weak spot on first and second-generation pumps.
- Input shaft, prop-shaft, or diff pinion seals. These can leak gear oil that runs forward and pools near the Haldex unit, mimicking an AOC leak even though the Haldex itself is fine.
- Trapped air or overfill after a service. If the unit was refilled without following the correct bleed sequence, pressure builds and forces oil out through the breather, which looks exactly like a fresh leak but is really a symptom of the refill technique not being followed properly.
Telling these apart matters because the fix ranges from a £15 o-ring swap to a full pump replacement, and guessing wrong wastes both time and money.
What’s the fastest way to pinpoint the leak?
Safety first. Get the car on proper axle stands or a lift, never a jack alone, and wear eye protection when working near the driveshaft and pump housing.
Work through the leak in this order:
- Inspect the filter cap and its o-ring first. Look for a wet ring around the cap edge.
- Check the breather grommet next. Trace any oil back along the pipe to see where it originates.
- Examine the driveshaft flange and the seam between the pump and coupling housing.
- Run a catch test: place clean cardboard or a tray under the suspected point, drive a short distance, then check exactly where fresh fluid lands.
- Smell and feel the fluid. AOC fluid is noticeably thinner than gear oil and has a distinct synthetic tang, not the sulphur smell of hypoid gear oil.
- If the car has thrown a warning light, connect a diagnostic scanner to check for low Haldex oil pressure or traction-reduced codes, which often point to a low or contaminated fill rather than a mechanical fault.
Pro Tip: Keep a small torch and a mirror on a stick handy. Half the Haldex leak points are tucked up behind the subframe, and guessing from ground level wastes more time than it saves.
What DIY repairs actually fix a Haldex leak?
Once you know where the fluid is coming from, most Haldex fluid leak repairs fall into one of four jobs, ordered from simplest to most involved.
- Replace the filter housing cap o-ring. Remove the cap, clean the housing thread, fit a new o-ring lightly lubricated with fresh Haldex fluid, and torque the cap to the manufacturer’s spec rather than just “snug”.
- Renew the breather. Pull the old grommet or pipe, fit the replacement, and make sure the routing doesn’t kink or point directly at a chassis hole where oil can pool and drip straight back down.
- Try a pump-nose tip kit before replacing the whole pump. On first and second-generation Haldex pumps, a worn nose seal often responds to a dedicated pump-nose replacement kit rather than a full unit swap. This saves considerable money if caught early.
- Remove the unit only when seals inside are shot. This means unbolting the driveshaft flange, catching residual oil in a tray, and doing the seal work on the bench where you have proper access and lighting.
After any repair, follow the standard refill sequence: fill the unit until fluid trickles from the filler hole, run the ignition on for a short cycle to let the pump circulate, then draw out roughly 70ml with a syringe to set the correct working level before final tightening.
Pro Tip: Skip a short road test after refilling and you’ll never know if the repair actually held. Drive five or ten minutes, then recheck every point you worked on while the underside is still accessible.
Full step-by-step seal work, including the pump-nose trick in more detail, is covered in Haldexparts’ seal replacement guide.
What parts, tools, and costs should I budget for?
Parts costs for a Haldex leak repair split sharply depending on what’s actually failed. Filter and o-ring kits sit at the cheap end; pumps and diff work sit considerably higher, a pattern confirmed by generation-specific service breakdowns.
- O-rings and crush washers for the filter cap and drain/filler plugs, typically sold as small kits.
- Filter kit covering the internal strainer alongside the cap seal.
- Pump-nose tip kit for early-generation pumps with a worn nose seal, sold by Haldexparts as a targeted fix.
- Full replacement pump where the internal seals or gears have failed, such as the Gen 5 pump for Audi R8 applications or the Gen 5 pump fitted to certain Porsche models.
- Tools: the correct hex or Allen key sizes for filler and drain plugs, a syringe for precise refilling, a torque wrench, axle stands, and a small seal pick set.
Labour time runs from under an hour for a cap o-ring swap to half a day for a full pump removal and refit, depending on access and whether the driveshaft has to come out.
Is it safe to keep driving on a Haldex leak?
A slow weep with no visible puddle is usually safe for a short, careful drive to a garage or your own driveway. A steady drip, active spray, or any warning light on the dash means stop and arrange a tow instead, because the AOC reservoir holds only a small volume of fluid and can empty out faster than you’d expect.
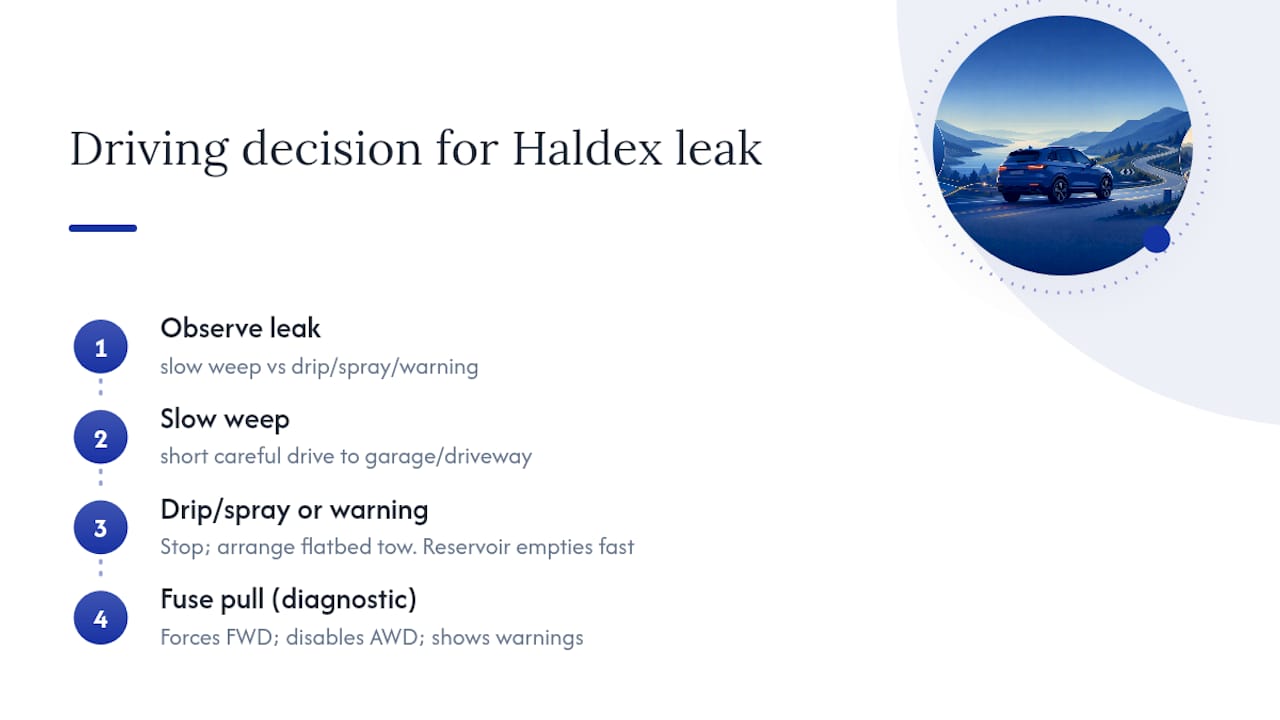
Some owners pull the DEM or Haldex pump fuse to force the car into front-wheel-drive-only mode while diagnosing, which stops the pump running dry. That does prevent further damage, but it also throws warning lights and disables all-wheel drive entirely, so it’s a diagnostic step, not a long-term fix.
If towing, use a flatbed rather than dolly-towing on the driven wheels, and tell the receiving garage exactly what fluid you observed and where. That single detail can save them half an hour of diagnosis.
How does Haldexparts support this repair?
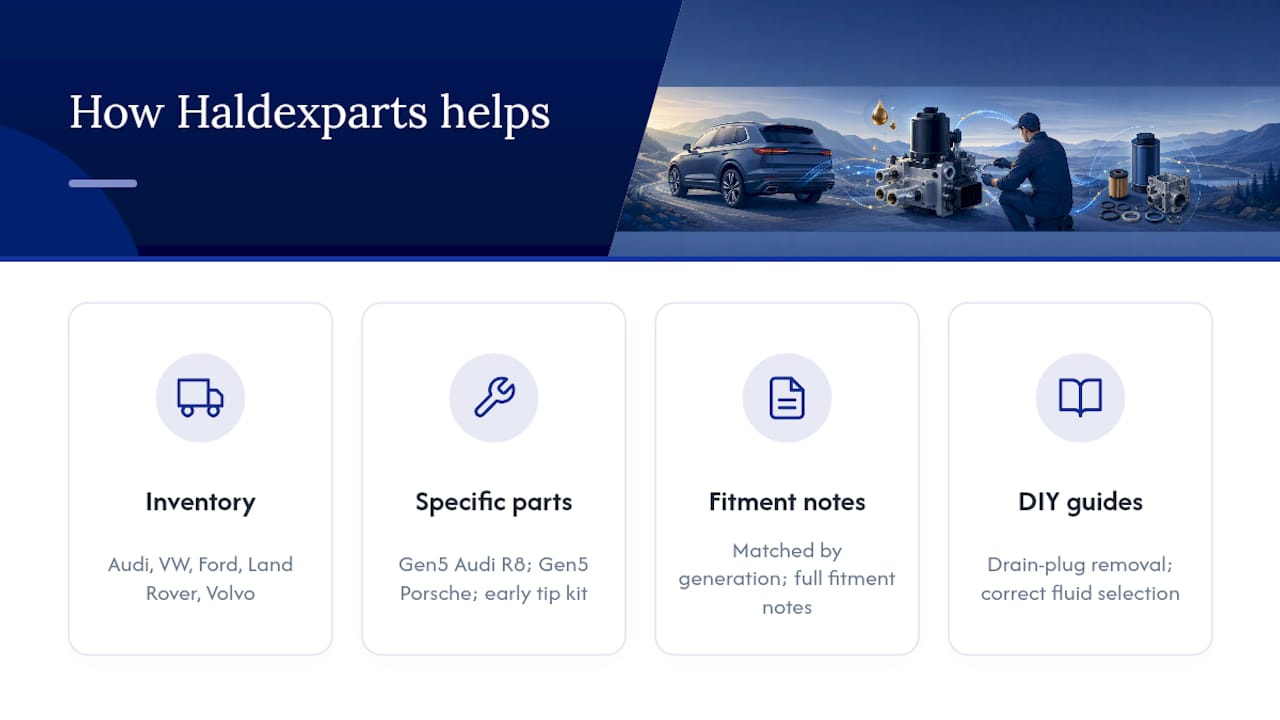
Haldexparts.co.uk stocks OEM-grade Haldex pumps, filters, and fluid across Audi, VW, Ford, Land Rover, Volvo, Škoda, Seat, Opel, Saab, and Vauxhall applications, matched by generation rather than guesswork. For the repairs covered here, that means the Gen 5 Audi R8 pump, the Gen 5 Porsche pump, and the pump-nose tip kit for early-generation units all sit on the site with full fitment notes attached. Fitment help and DIY guides, including drain plug removal and correct fluid selection, sit alongside the product pages so you’re not guessing which part matches your generation.
What I’ve learned watching Haldex leaks go wrong
The mistakes are almost always the same three: overfilling because someone skipped the drip-and-syringe step, reusing a crush washer that’s already taken a set, and not giving trapped air time to clear before calling the job done. A cap o-ring or breather swap genuinely does solve most leaks. Replacement only makes sense once you’ve ruled out the cheap fixes first. Whatever you do, retest after a short drive. Skipping that step is how a “fixed” leak reappears three weeks later.
— Mindaugas
Where to buy the parts covered in this guide
Once you’ve isolated the fault, the part you need determines the route. For a worn nose seal on an early-generation pump, the pump-nose replacement tip kit is the cheaper first move before committing to a full pump.
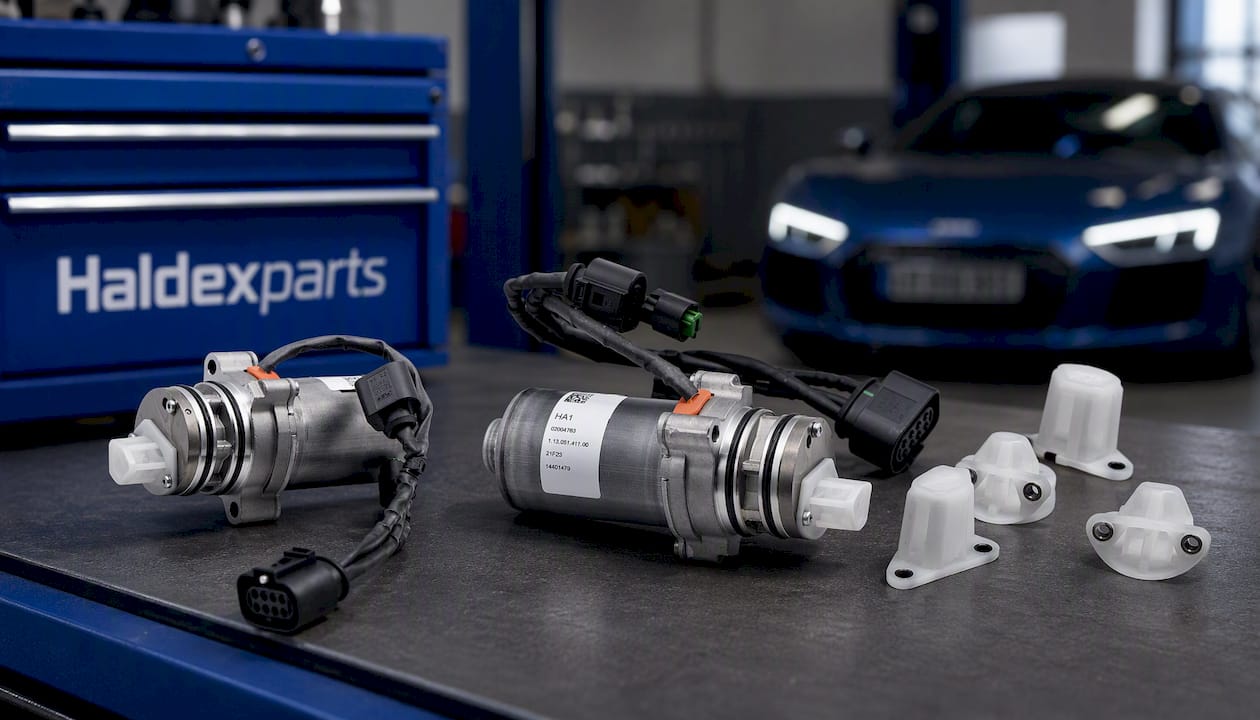
If the pump itself has failed internally, rather than just a surface seal, Haldexparts carries generation-matched replacements including the Gen 5 pump for Audi R8 platforms and the Gen 5 pump for Porsche applications, both listed as OEM-grade with fitment details against the exact part number stamped on your original unit. Every product page cross-references the vehicle and Haldex generation, so you’re not left matching numbers off a forum thread. Orders over a certain amount may ship free, typically covering a pump plus fluid in one go. Head to the full Haldex parts range to check stock against your vehicle and generation before you strip anything down.
Sources
- Haldex service - fluid leaking
- Oil leaking around Haldex unit | SwedeSpeed - Volvo Performance Forum
- Maintain a Freelander 2 Haldex coupling
- How to service Haldex generation 4 6 full guide
FAQ
What are the signs of Haldex failure?
Warning signs include a whining or clunking noise from the rear axle, a traction or AWD warning light, reduced power to the rear wheels on slippery surfaces, and visible fluid weeping from the filter cap, breather, or pump housing.
How much does it cost to service a Haldex fluid?
Costs vary by generation and whether you DIY or use a garage, but filter and o-ring kits sit at the affordable end while full pump replacement costs considerably more, according to generation-specific service breakdowns.
Can I drive with a leaking diff?
A slow weep with no active dripping is usually fine for a short, cautious drive, but a steady drip, spray pattern, or warning light means you should stop and arrange a tow rather than risk running the unit dry.
How often should I replace Haldex oil?
Service intervals depend on the vehicle and generation, so check your specific Haldex service interval guidance rather than assuming a universal figure, since intervals differ noticeably between manufacturers.