
Replacing a Haldex solenoid valve is the single most effective action you can take to restore correct AWD engagement on Audi, VW, Ford, and Land Rover platforms. The solenoid valve, most commonly known as the N373 in 4th-generation systems, controls hydraulic pressure to the multi-plate clutch, directly determining how and when rear-wheel drive engages. Get the replacement wrong and you will face the same fault codes within weeks. This guide covers every stage of the process: diagnosis, preparation, removal, installation, and post-replacement adaptation, with clear distinctions between 4th and 5th-generation Haldex units.
What is the role of the Haldex solenoid valve in AWD performance?
The N373 solenoid valve is the pressure regulator at the heart of the 4th-generation Haldex AWD unit. It modulates hydraulic pressure to the multi-plate clutch pack, which determines how much torque transfers to the rear axle. Without correct pressure, the clutch either slips or fails to engage, leaving the vehicle in effective front-wheel drive.
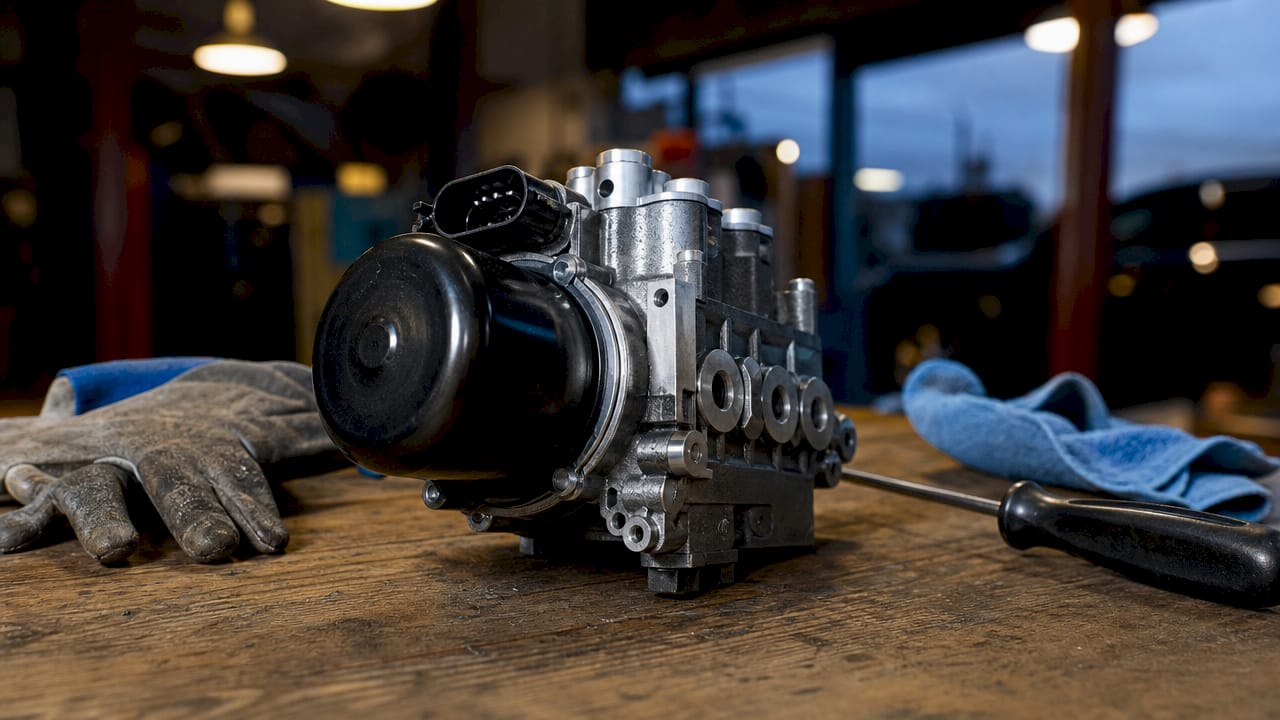
The solenoid valve replaced earlier mechanical throttle valves from the 2nd generation onwards, providing more precise AWD engagement and a more compact unit overall. That shift to electronic control made the system more responsive but also more sensitive to electrical faults and contaminated fluid.
5th-generation systems work differently. They lack the N373 valve entirely, relying instead on a pump with an internal mesh strainer to manage pressure. Knowing which generation you are working on before ordering any parts is not optional. It is the foundation of every correct repair.
Symptoms of a faulty Haldex solenoid valve include:
- AWD warning light or fault code 02248 stored in the ECU
- Understeer or loss of rear traction on slippery surfaces
- Vibration or judder during tight low-speed turns
- Sluggish or absent AWD engagement under load
- Visible oil contamination around the valve housing
Pro Tip: Before condemning the N373 valve, check whether the fault code 02248 relates to the valve itself or to the control circuit. Many 02248 codes stem from electrical faults in the circuit or a failing pre-charge pump, not the valve.
What tools and parts do you need before starting?
Preparation determines whether the job takes 90 minutes or half a day. Gather everything before you lift the vehicle.
Tools required:
- OBD2 diagnostic scanner with VAG or manufacturer-specific protocol support
- Digital multimeter for coil resistance and circuit testing
- Torque wrench (10–25 Nm range)
- Socket set and Torx bits
- Clean lint-free cloths and a parts cleaning tray
- Nitrile gloves and eye protection
Parts required by generation:
| Component | 4th-generation Haldex | 5th-generation Haldex |
|---|---|---|
| Solenoid valve | N373 valve assembly | Not applicable |
| Filter | Replaceable filter cartridge | Internal mesh strainer (clean only) |
| Seals and O-rings | Valve housing seals | Pump housing seals |
| Fluid | Haldex-approved AWD oil | Haldex-approved AWD oil |
| Pump | Usually retained | Often replaced with valve work |
Sourcing OEM-grade parts matters here. Aftermarket valves with incorrect coil resistance will trigger the same fault codes you are trying to clear. Haldexparts stocks generation-specific service kits covering valves, seals, filters, and fluids for 4th and 5th-generation units across Audi, VW, Seat, Skoda, Ford, and Land Rover applications.
Pro Tip: Check the Haldex parts degradation guide before ordering. Contaminated fluid accelerates seal wear, so replacing the valve without changing the oil and filter is a false economy.
How to replace the Haldex solenoid valve: step-by-step
This procedure covers 4th-generation systems with the N373 valve. Notes for 5th-generation differences appear where relevant.
- Confirm the fault with a diagnostic scan. Connect your scanner and read all stored codes. Note whether 02248 is present alongside pump or circuit faults. Do not proceed to parts replacement until you have ruled out wiring and pump issues.
- Raise and support the vehicle safely. Use axle stands rated for the vehicle’s weight. Never work under a vehicle supported only by a jack.
- Locate the Haldex unit. On most Audi and VW platforms, the unit sits at the rear axle, forward of the rear differential. The N373 valve is mounted on the side of the unit housing.
- Disconnect the electrical connector. Release the locking tab and pull the connector straight back. Inspect the pins for corrosion or pushed-back terminals before proceeding.
- Test coil resistance before removal. Using a multimeter, measure resistance across the valve terminals. Correct resistance is approximately 3 ohms. A reading near zero indicates a coil short to ground. A reading of infinity indicates an open circuit. Both confirm valve failure.
- Drain the Haldex fluid. Place a drain tray under the unit and remove the drain plug. Allow full drainage before removing the valve.
- Remove the valve retaining bolts. These are typically Torx T25 or T30. Keep them in order for reinstallation.
- Extract the valve carefully. Pull it straight out without twisting. Inspect the bore for scoring or debris. Clean the bore with a lint-free cloth.
- Inspect and replace the filter (4th gen only). Remove the old filter cartridge and fit the new one from your service kit. On 5th-generation units, clean the internal mesh strainer manually with fresh Haldex fluid.
- Fit the new N373 valve. Lubricate the new O-ring seals lightly with clean Haldex oil. Insert the valve straight into the bore and torque the retaining bolts to the manufacturer’s specification.
- Reconnect the electrical connector. Ensure it clicks fully into place.
- Refill with fresh Haldex oil. Use only the correct specification fluid. Overfilling causes pressure faults.
- Clear stored fault codes and run the adaptation procedure (see the next section).
Skipping the coil resistance test before removal is the single most common error in Haldex valve work. If the coil tests within specification, the fault almost certainly lies in the wiring harness or the pre-charge pump, not the valve itself. Replacing a serviceable valve wastes money and leaves the root cause untouched.
Pro Tip: When fitting the new valve, never use thread-locking compound on the retaining bolts unless the manufacturer’s specification explicitly requires it. Residue can contaminate the hydraulic circuit.
How to run post-replacement diagnostics and system adaptation
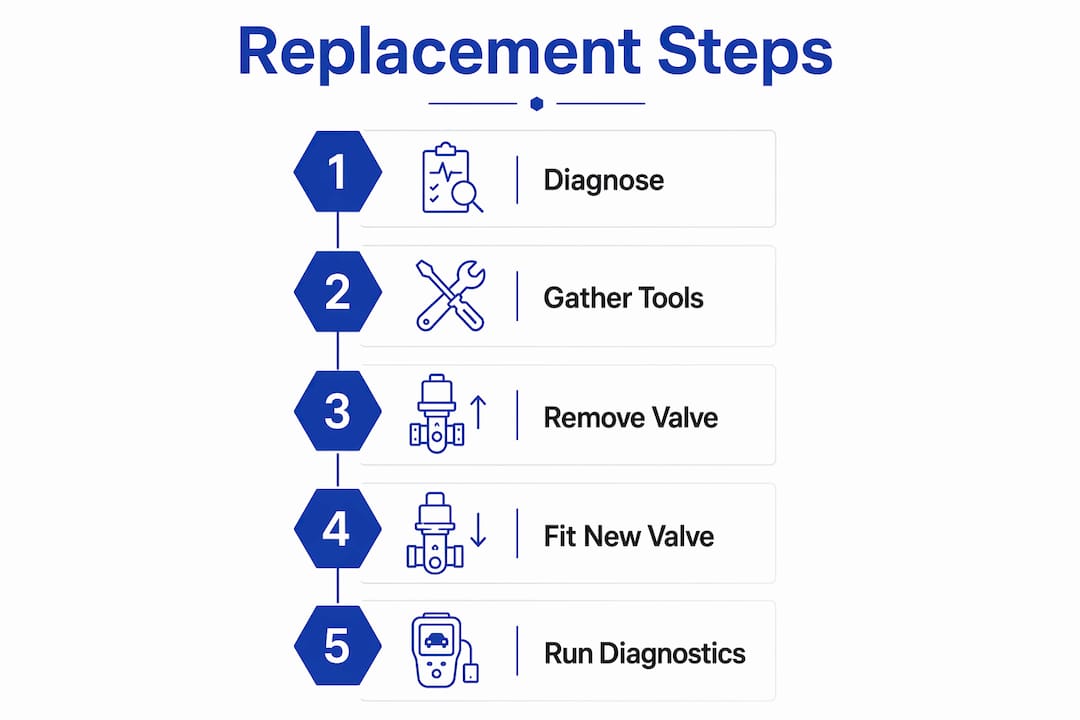
Fitting the new valve is only part of the job. Skipping the post-installation verification is the most common reason a repair fails within days.
For 4th-generation systems:
- Clear all stored fault codes using your diagnostic scanner.
- Perform a live data check on the N373 valve control circuit. Confirm the ECU is sending a duty-cycle signal to the valve during a test drive.
- Check for the return of code 02248 after a 10-minute drive cycle including low-speed turns.
- Adaptation is optional on 4th-generation units but recommended after any valve or fluid change.
For 5th-generation systems:
- After pump replacement, ECU adaptation is mandatory. The ECU must relearn the correct current draw thresholds for the new pump.
- Failure to complete adaptation causes AWD malfunction even when the hardware is correct.
- Use a scanner with full VAG adaptation support, such as VCDS or equivalent professional tooling, to run the adaptation routine.
- Confirm pump resistance reads between 5 and 8 ohms before adaptation. Low resistance suggests brush wear and the pump may need replacement rather than adaptation alone.
Pro Tip: Log live data during the first drive cycle after adaptation. Watch the AWD torque split values in real time. If the rear axle shows zero torque transfer despite correct adaptation, recheck the pump electrical supply and ground connections before condemning any new parts.
For a deeper look at fault code interpretation, the Haldex fault diagnosis guide covers electrical supply assessment and AWD system testing in detail.
What common errors occur during Haldex solenoid valve replacement?
Most failed repairs share the same root causes. Recognising them before you start saves time and money.
- Replacing the valve without testing the pump. The N373 valve and the pre-charge pump share fault code 02248. Replacing the valve when the pump is the actual fault leaves the underlying problem in place.
- Confusing 4th and 5th-generation components. The 5th-generation unit has no N373 valve. Ordering a valve for a 5th-gen system is a direct result of not confirming the generation before diagnosis.
- Incomplete cleaning on 5th-generation units. The internal mesh strainer traps metallic debris from worn pump brushes. Fitting a new pump without cleaning the strainer recontaminates the system immediately.
- Skipping adaptation after pump replacement. This is the most costly oversight on 5th-generation systems. The ECU adaptation procedure is not optional. Without it, the system throws fault codes despite correct hardware.
- Using non-specification fluid. Haldex systems require specific AWD fluid. Standard gear oil degrades the clutch pack and valve seals rapidly.
Thorough electrical and pump performance checks before ordering parts improve repair accuracy and prevent unnecessary costs. The valve is rarely the sole cause of an AWD fault. Treat it as one component in a system, not the default answer to every warning light.
Understanding what causes Haldex failure at a system level reduces the risk of misdiagnosis and repeat repairs.
Key takeaways
Correct Haldex solenoid valve replacement requires confirmed diagnosis, generation-specific parts, proper installation, and mandatory ECU adaptation on 5th-generation systems.
| Point | Details |
|---|---|
| Confirm the generation first | 4th-gen uses the N373 valve; 5th-gen has no solenoid valve and requires pump work instead. |
| Test before replacing | Measure N373 coil resistance at approximately 3 ohms and check the control circuit before ordering parts. |
| Clean the strainer on 5th-gen | The internal mesh strainer must be cleaned manually; skipping this step recontaminates a new pump. |
| Adaptation is mandatory on 5th-gen | ECU adaptation after pump replacement is required or the system will fault despite correct hardware. |
| Use correct fluid and OEM parts | Non-specification fluid and aftermarket valves with wrong coil resistance cause repeat failures. |
Why I always diagnose before I order: a technician’s view
After years working on Haldex AWD systems across Audi, VW, and Land Rover platforms, the pattern I see most often is straightforward. A technician or DIYer reads code 02248, orders an N373 valve, fits it, and the code returns within a week. The valve was never the problem.
The pre-charge pump is the more common culprit, particularly on higher-mileage vehicles where brush wear has reduced pump output. A multimeter and five minutes of testing would have identified that before a single bolt was turned. The diagnostic step is not a formality. It is the repair.
Generation confusion is the second most expensive mistake I encounter. The 5th-generation system looks similar externally but works on entirely different principles. If you are not certain which generation you have, check the build date and cross-reference the part numbers before touching anything.
My strongest recommendation for anyone maintaining a Haldex system is this: regular oil and filter changes on a consistent schedule prevent the majority of valve and pump faults before they develop. Clean fluid is the cheapest insurance available for these systems.
— Mindaugas
Quality Haldex service kits for every generation
Sourcing the right parts for a Haldex repair should not require guesswork. Haldexparts stocks OEM-grade service kits covering solenoid valves, pump components, seals, filters, and approved AWD fluids for both 4th and 5th-generation systems across Audi, VW, Seat, Skoda, Ford, and Land Rover applications.
Every kit is matched to a specific generation and vehicle platform, so you receive the correct components without cross-referencing multiple part numbers. Free shipping applies to orders over £150. Whether you are a professional technician or an experienced DIYer, the Haldex service kit range gives you everything needed to complete the job correctly the first time.
FAQ
What does the Haldex solenoid valve actually do?
The N373 solenoid valve regulates hydraulic pressure to the multi-plate clutch in 4th-generation Haldex systems, controlling how much torque transfers to the rear axle. Without correct pressure modulation, AWD engagement fails or becomes erratic.
How do I know if my Haldex solenoid valve has failed?
The most reliable indicator is fault code 02248 combined with symptoms such as understeer, rear traction loss, or drivetrain vibration during low-speed turns. Confirm failure by testing coil resistance, which should read approximately 3 ohms on a healthy N373 valve.
Does the 5th-generation Haldex system have a solenoid valve?
No. The 5th-generation Haldex unit does not use the N373 valve or a separate filter cartridge. It relies on a pump with an internal mesh strainer, and faults in this generation typically require pump replacement and mandatory ECU adaptation.
Is ECU adaptation always required after replacing Haldex components?
ECU adaptation is mandatory after pump replacement on 5th-generation systems. The ECU must relearn current draw thresholds for the new pump. Skipping adaptation causes AWD malfunction even when the hardware is correctly installed.
How often should Haldex fluid and filters be changed?
Regular fluid and filter changes are the most effective way to prevent premature valve and pump wear. Most manufacturers recommend service intervals based on mileage or time, but vehicles used frequently in demanding conditions benefit from shorter intervals to keep the internal strainer and valve bore clean.